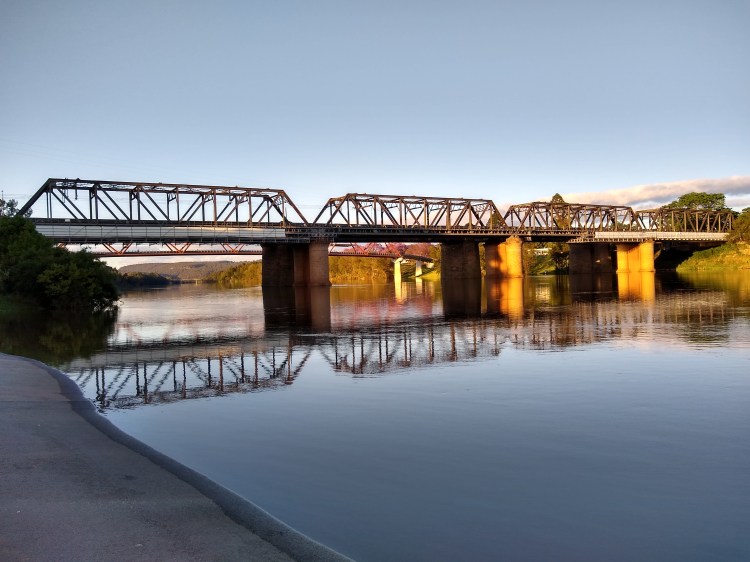
How many truss elements do you see?
Learning Objectives
After completing this lesson, the student will be able to describe what a truss is in words and with a physical model.
Standards
- NGSS HS-ETS1-2
- CCSS.Math.Practice.MP1
- CCSS.Math.Practice.MP4
Supplies
- Ruler
- Balsa wood sticks
- Pins
- Knife (see teacher or parent)
Units Used
- Length: inch (in)
- Length: centimeter (cm)
Truss Construction
Have you ever built a bridge out of toothpicks, straws, or balsa wood? That was a truss – an assembly that uses beams and simple connections, often leveraging triangular geometries, to make a remarkably strong structure. Trusses are all around you, in your attic, holding up bridges, and supporting vehicle structures. Get the balsa wood sticks and pins from your BLIMP kit, we are going to build a truss. Let’s start with making two equilateral triangles – recall an equilateral triangle has the same length on all sides. I measured and cut 4-inch (~10 cm) segments of balsa wood and pinned them together like so:

Next, we are going to connect these two equilateral triangles with a cross bar at the top and the pin at the bottom into a structure that look like this:

You now have a bridge. It’s probably a fairly floppy bridge though. Let’s extend it into three-dimensions by building a second identical truss, and connecting the two of them cross wise with balsa wood as well. Your final product should look something like this:

Footnote: Keep your bridge! You will use it again in the Gusset Plates lesson.
Next Steps
Eager to keep building and testing? Jump to the lesson on Gusset Plates.
Ready to put that bridge to work and exercise your understanding of Free Body Diagrams at the same time? Move on to the lesson on Truss Analysis.
Or if you are looking to draw a little inspiration from nature, do the Nature Walk lesson.


Last updated: November 23, 2022.
