Downloads
- Get the code for the Feather here.
- Get VS code at https://code.visualstudio.com/.
- Get Six Axis Pair Tool at https://sixaxispairtool.en.lo4d.com/windows.
- Get the CP210x Drivers here
Installing Driver CP210x (USB to UART Driver)
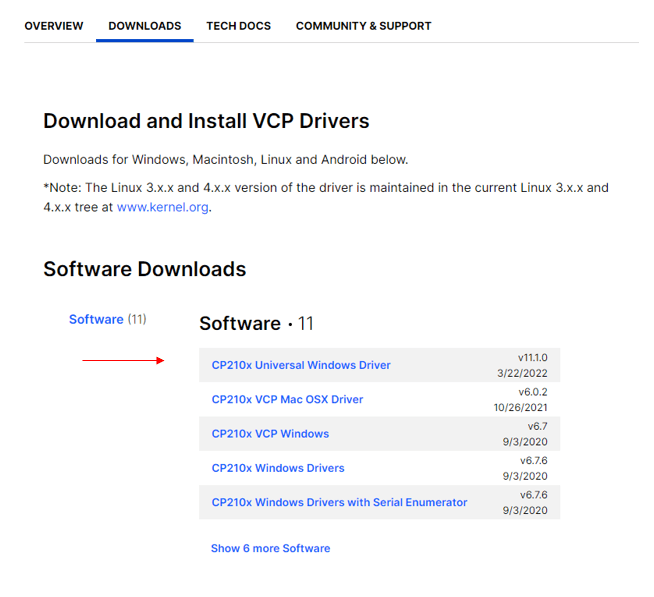
Go to https://www.silabs.com/developers/usb-to-uart-bridge-vcp-drivers and download the CP210x Universal Windows Driver or the correct driver for you OS.
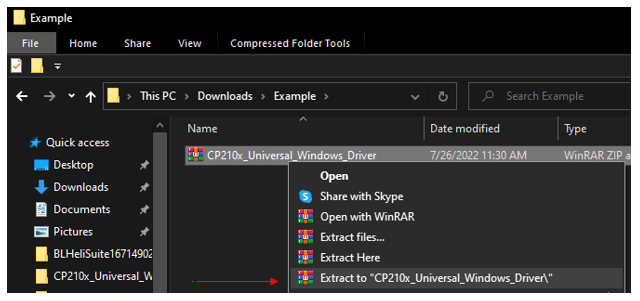
After downloading the drivers, unzip the zip file.
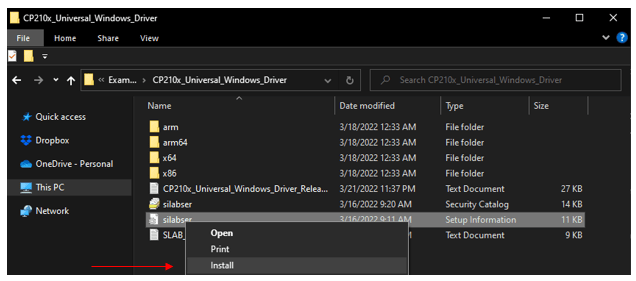
Open the folder, right-click the silabser.inf file, and choose Install. Make sure to right click on the name of the file or Install options will not appear.
Installing Visual Studio Code on Windows (VS Studio)
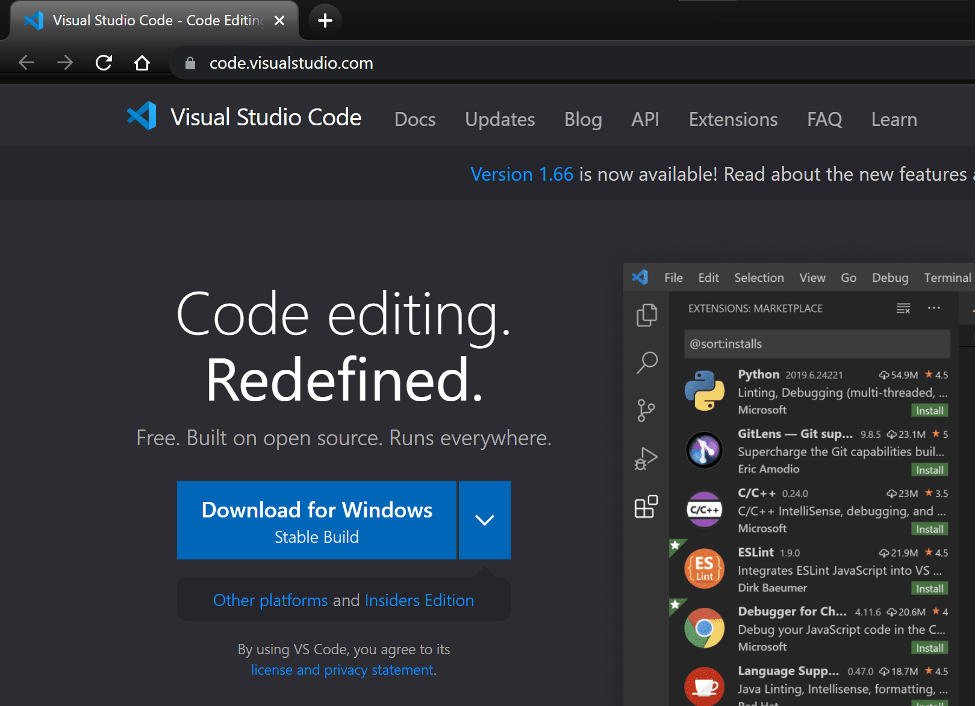
Go to https://code.visualstudio.com/ and download the stable build for your operating system (Windows).
Select the following options and click Next.

Finally, click Finish to finish the installation.
Open VS Code and you’ll be greeted by a Welcome tab with the released notes of the newest version.

Installing PlatformIO IDE Extension on Visual Studio Code
Open VS Code:
- Click on the Extensions icon or press Ctrl+Shift+X to open the Extensions tab
- Search for “PlatformIO IDE”
- Select the first PlatformIO option that comes up
- Click Install (Note: the installation may take a few minutes)

After installing, make sure that PlatformIO IDE extension is enabled as shown below.

The PlatformIO icon should show up on the left sidebar as well as a Home icon appearing on the left bar that will redirect you to PlatformIO home. You might have to reload to see the icon (alien face).

PlatformIO IDE extension was successfully added to VS Code.
Restart VS Code before proceeding.
Open a Project Folder
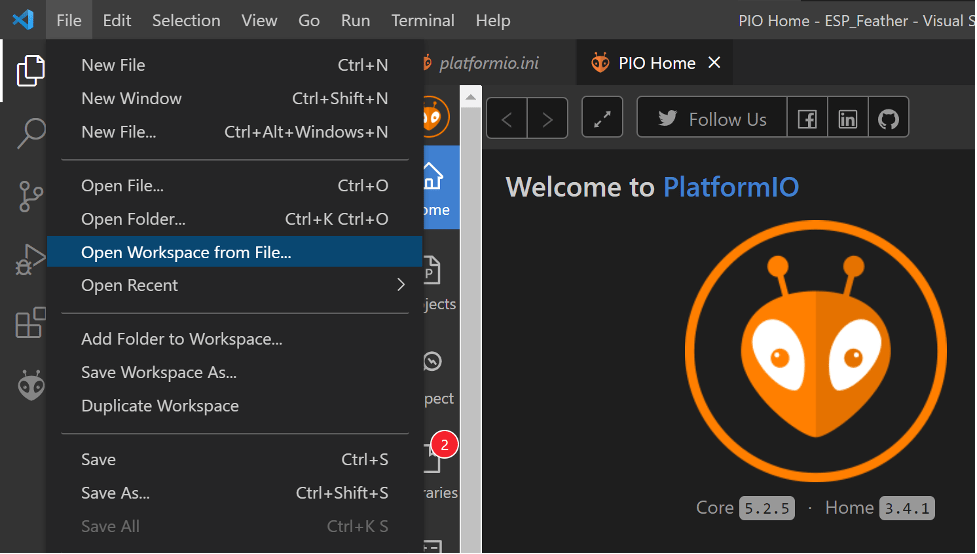
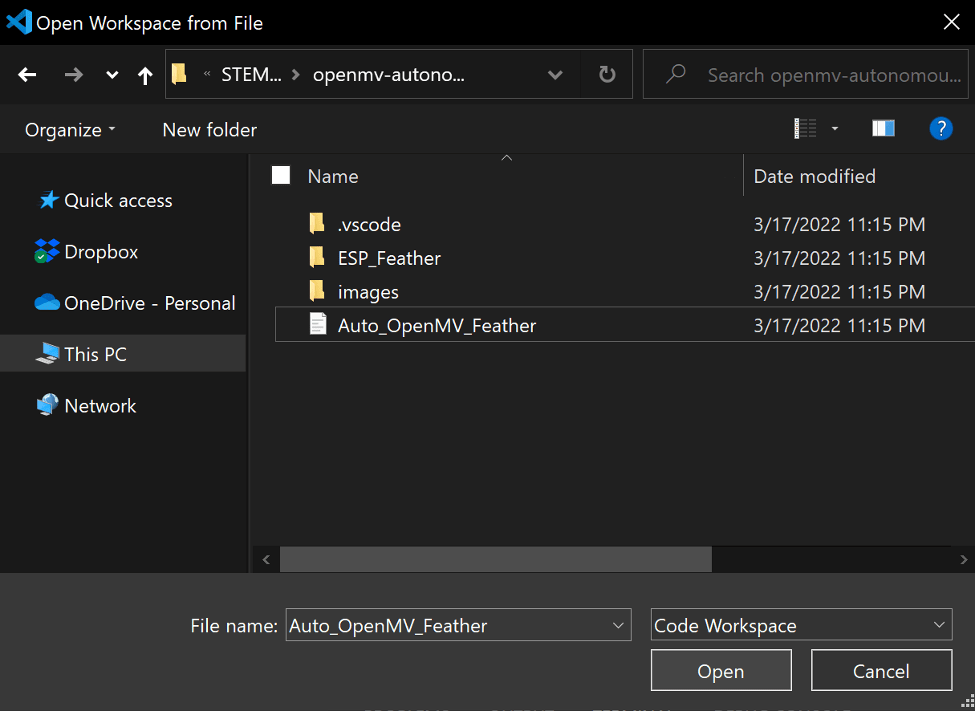
To open an existing project folder on PlatformIO, open VS Code, open a file “File>Open workspace from file” on top menu bar. Open the Auto_OpenMV_Feather.code-workspace from the extracted zip file.
Open the Auto_OpenMV_Feather from the extracted zip file.
Hit Yes

Click the Explorer icon on the Left-hand side bar (looks like 2 pages of paper)
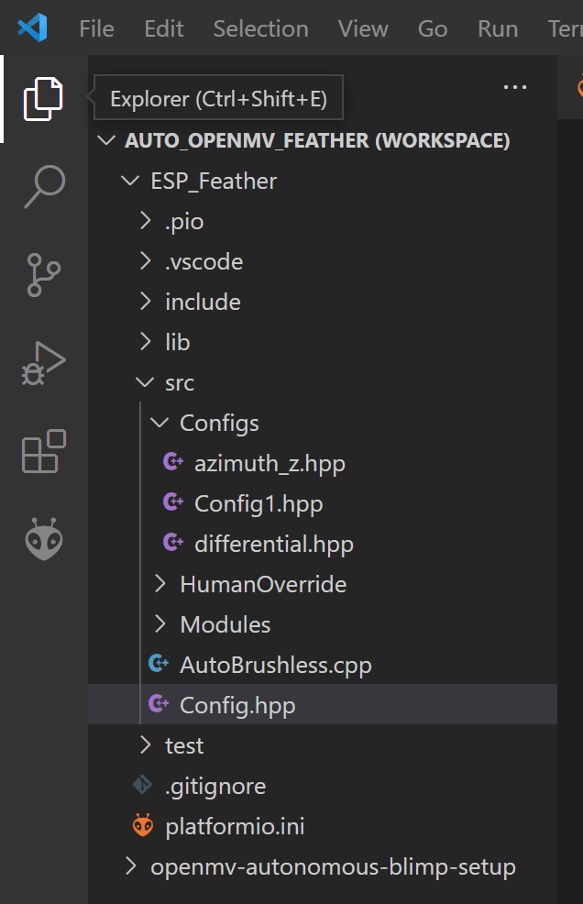
In Workspace>ESP_Feather>src>Config.hpp there are two things to consider differential drive (three motor setup used for stingray blimp) and azimuth (two Motors and a single servo used for the ellipse blimp) which we will be using. To enable differential drive uncomment the “// “ from line 8 and add “// “ at the beginning of line 9.

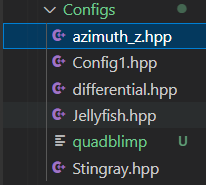
Open Workspace>ESP_Feather>src>Configs>azimuth_z.hpp.
Set the PS3 MAC Address with the Six Axis Pair Tool
Go to https://sixaxispairtool.en.lo4d.com/windows to download the software.
Connect your PS3 controller using the included USB cable. The Sixaxis Pair Tool will tell you your controller’s MAC addresss.
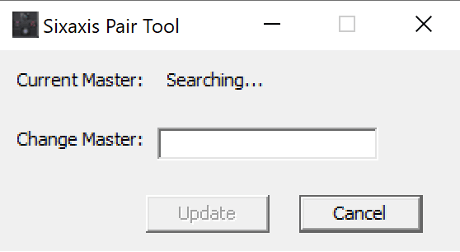
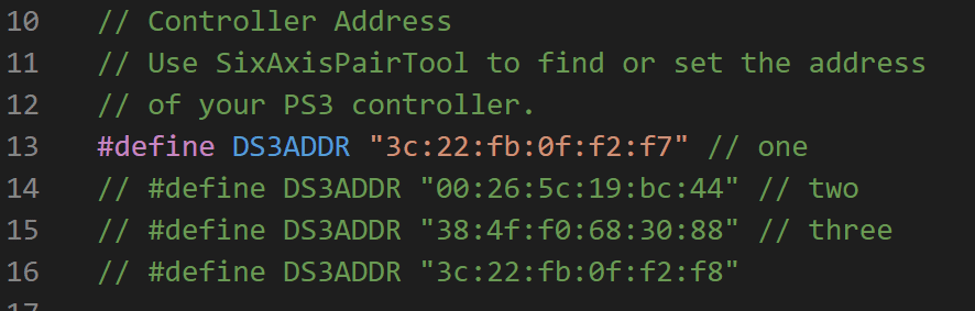
Update the MAC address in the file azimuth_z.hpp on line 13 using the MAC address given to you by the Sixaxis Pair Tool.
Programming the Feather
Disconnect the battery from the Feather, then connect the Feather to your computer using the included cable – plug into the port on the board.
In VS Studio, click the Platform IO icon (the alien) on the side bar and click Upload.

Connecting to the Controller
Once the upload is complete, unplug the Feather from the computer, and plug it back into its battery. Turn on the controller near the Feather. It should auto-pair. Then press the P3 button.
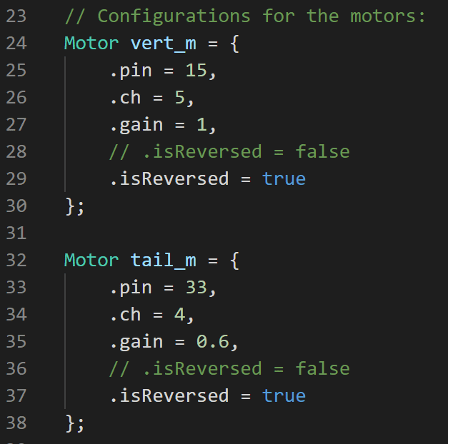
If you connect your controller to your board and the motor is going in reverse don’t panic. Uncomment line 28 by removing “// “ and adding “// “ to line 29 to change the orientation for the vertical motor mounted on the bottom of your blimp. Similarly for the motor on the tail uncomment line 36 by removing “// “ and adding “// “ to line 37.
Last updated Oct 14, 2022.
